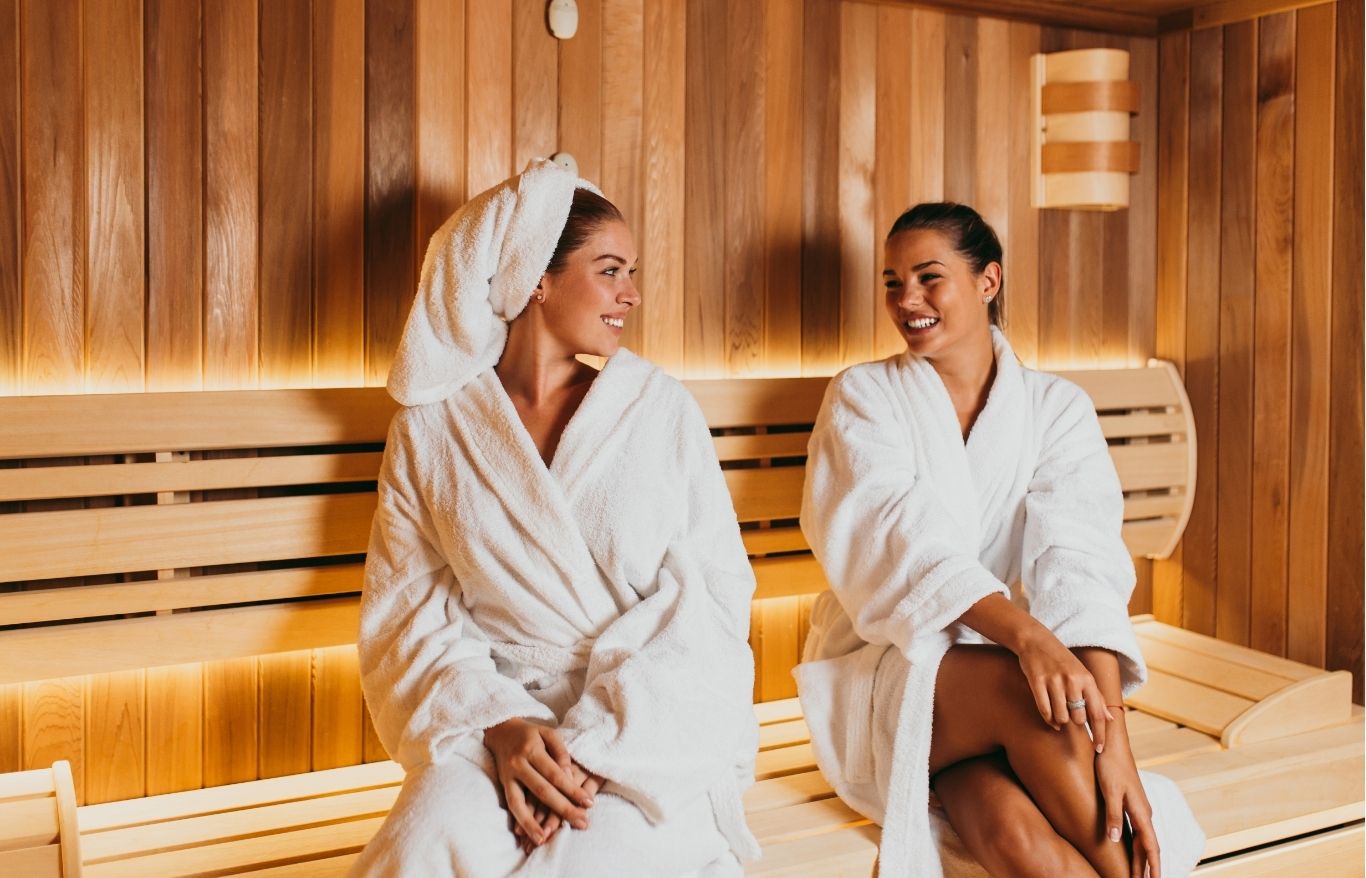
The global sauna market hit $859.5 million in 2023 and researchers project it’ll reach $1.27 billion by 2030 with a CAGR of 5.9%. This explosive growth shows that people are done with basic hot rooms – we want saunas that actually work. Grand View Research Look, I love that we’re finally combining old-school Finnish sauna wisdom with what science is teaching us about how our bodies actually work. But here’s the thing – most people are still just cranking up the heat and hoping for the best.
Table of Contents
- The Science Behind Revolutionary Sauna Space Design
- Light Therapy Integration That Actually Works
- EMF Protection Your Sauna Space Desperately Needs
- Sound Engineering for Deep Therapeutic States
- Timing Your Sessions for Maximum Hormonal Benefits
- Air Quality Management Beyond Basic Ventilation
- SaunaSpace Technology Integration Done Right
- Creating Healthy Microbial Ecosystems in Your Sauna
TL;DR
- Modern sauna design goes way beyond just heating a room – it’s about creating spaces that actually work with your body
- Light therapy panels need specific positioning (12-24 inches away) and timing to do anything useful
- EMF shielding through smart material choices can reduce electromagnetic interference by 40-60% (and yes, it matters)
- Your sauna has natural sound frequencies (40-80Hz) that can enhance relaxation if you work with them
- Morning sauna sessions should sync with your natural cortisol rhythm for better energy
- Evening sessions need precise timing (90-120 minutes before sleep) to actually improve sleep
- Proper ventilation isn’t just about air exchange – it’s about creating breathable environments during long sessions
- SaunaSpace panels work best when you stagger startup by 2-3 minutes to prevent electrical issues
- You can actually cultivate beneficial microorganisms in your sauna for better air quality
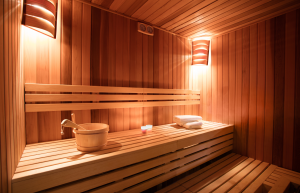
The Science Behind Revolutionary Sauna Space Design
Here’s what I wish someone had told me when I started: most sauna “design” is just making a hot box and calling it good. I spent my first year sweating in what was basically a wooden oven, wondering why I wasn’t getting the life-changing benefits everyone talked about.
Think of your sauna like tuning a guitar. You could just crank up the heat and call it good (like strumming random strings), or you can actually tune each element to work together harmoniously. The positioning of heating elements, the materials you use, even the height of your ceiling – they all determine whether you get basic sweating or something that actually helps your body heal.
After way too many mediocre sauna sessions and a bunch of trial and error, I finally figured out why some setups just hit different. It’s not magic – it’s actually pretty logical once you understand what’s happening. Your sauna creates different thermal zones, and knowing how to use them turns a basic hot room into something that targets specific biological processes.
The principles of traditional Finnish sauna design provide the foundation, but now we can measure what’s actually happening. I use infrared thermometers to map heat zones throughout my sauna space – sounds nerdy, but it shows you exactly where the sweet spots are for different types of sessions.
| Design Element | Why It Matters | What Actually Works |
|---|---|---|
| Ceiling Height | Controls how heat layers | 7-8 feet (higher wastes energy, lower feels claustrophobic) |
| Wall Materials | Heat retention & EMF dampening | Cedar/Hemlock with carbon backing (if you’re going all out) |
| Bench Positioning | Temperature zone optimization | 18-24 inches from heat source (closer is too intense) |
| Air Gaps | Thermal circulation | 2-4 inch gaps at floor/ceiling (prevents dead air) |
| Heating Placement | Even heat distribution | Multiple zones beat one big heater every time |
The thermal dynamics create distinct zones of different intensities. I map these zones to understand where different biological processes work best. The lower bench typically runs 15-20 degrees cooler than the upper bench, which gives you options for graduated heat exposure instead of just “hot” or “hotter.”
Light Therapy Integration That Actually Works
Here’s where most people mess up (and where I definitely messed up): they think any red light equals therapy. I spent $2,000 on fancy light panels and stuck them wherever they looked good. Turns out I was basically paying for expensive mood lighting. My first attempt at “therapeutic” sauna design was about as therapeutic as sitting under a heat lamp at McDonald’s.
Recent innovations in public sauna design are pushing boundaries of what’s possible. The award-winning “OND SAUNA in Takeo City, Japan” by Amane Architecture shows how modern saunas can enhance community connection while maintaining therapeutic benefits – though most of us aren’t building architectural marvels in our backyards.
Near-Infrared Penetration Mapping for Actual Results
Different wavelengths penetrate to different tissue depths, and the intensity drops off dramatically with distance. Most people just stick panels wherever they fit, but that’s missing the entire point. I learned this the expensive way – you need to measure where the light actually goes and how strong it is when it gets there.
Understanding how different wavelengths (660-850nm) actually work requires mapping your space systematically. I measure surface temperatures and light intensity at 12-inch intervals to find the spots where you’re getting therapeutic doses instead of just pretty lighting effects.
The sweet spot for most near-infrared therapy happens between 12-24 inches from the panel surface. Closer than that and you risk overdoing it; further away and you’re basically getting expensive mood lighting. I position panels at torso height while seated to hit vital organs and major muscle groups consistently.
Real Example From My Setup: In my 6×8 foot sauna, I installed four 300-watt near-infrared panels: two at torso height (36 inches from floor) on the back wall, and two at knee height (24 inches) on side walls. Using a basic light meter (not a $500 spectrometer – a $30 one from Amazon works fine), I verified 20-40 mW/cm² intensity at seated position. This gives even coverage without hot spots or dead zones.
Getting the Right Wavelengths (Not Just Red-Looking Lights)
Can’t afford a $500 spectrometer to test your light panels? Neither could I when I started. A $30 light meter from Amazon will get you 90% of the way there. Perfect is the enemy of good enough, but you do need to verify you’re getting actual therapeutic wavelengths (660nm and 850nm) rather than just lights that look red to your eyes.
Unlike random light sources, therapeutic panels need specific wavelength consistency. Real phototherapy panels maintain spectral coherence above 90%, meaning almost all the light output falls within the target therapeutic range. Cheap alternatives might only achieve 30-40% coherence, which means you’re wasting energy and getting minimal benefit.
The difference between therapeutic-grade panels and decorative LED strips is massive. I learned this by testing both with a borrowed spectrometer – the cheap strips were all over the place wavelength-wise, while the good panels stayed consistent. It’s worth investing in quality here if you’re serious about this.
Timing That Actually Makes Sense
Here’s something I wish I’d known earlier: the timing of light exposure matters as much as the wavelength and intensity. I used to just blast myself with red light for entire sessions, wondering why I felt overstimulated instead of relaxed.
Starting with heat alone allows your circulation to increase and your cells to enter a more receptive state before adding light therapy. My standard protocol: 10-minute heat-only phase to get blood flowing, followed by 15-minute windows of combined heat and light. This approach consistently produces better results than random light exposure throughout the entire session.
My Light Therapy Checklist:
- Start with heat-only for 10 minutes (gets your body ready)
- Position seating 12-24 inches from panel surfaces (measure this, don’t guess)
- Use 15-minute light exposure windows (more isn’t always better)
- Monitor skin temperature to prevent overexposure (it’s easy to overdo it)
- Allow 5-minute breaks between light cycles (gives your cells time to process)
- Keep notes on what works (everyone responds differently)
EMF Protection Your Sauna Space Desperately Needs
Look, I know some of this sounds like wellness industry BS. Trust me, I was skeptical too. But after measuring the electromagnetic chaos in my first sauna setup and then comparing how I felt after sessions in a properly shielded space, I became a believer. Every electrical component creates electromagnetic fields that can mess with your nervous system’s natural electrical activity.
EMF Shielding That Won’t Break the Bank
Cedar and hemlock naturally provide some EMF dampening, but strategic placement of carbon fiber panels can reduce electromagnetic noise by 40-60%. I install shielding behind electrical components and along walls that adjoin rooms with heavy electronics (like home offices or entertainment centers). This creates cleaner electromagnetic environments that don’t interfere with your body’s natural electrical processes.
Carbon fiber panels work well for EMF shielding in saunas because they handle heat while providing electrical conductivity that redirects electromagnetic energy. The key is strategic placement – you don’t need to wrap your entire sauna in the stuff, just shield the problem areas.
Traditional saunas account for 42.35% of the market share in 2023, but infrared saunas are projected to grow at a CAGR of 7.1% through 2030, largely due to their lower EMF emissions and energy efficiency. Grand View Research This shift reflects growing awareness that electromagnetic considerations actually matter in sauna design.
Grounding Systems (Yes, Really)
My first attempt at DIY grounding involved burying copper wire in my backyard and running it through the wall. My wife thought I’d lost my mind, and honestly, she wasn’t wrong. It worked, but there are way simpler approaches that don’t involve destroying your landscaping.
Grounding (or earthing) in saunas involves creating direct electrical connection to the earth’s natural electrical field. I now install copper mesh grounding mats beneath the flooring that connect to proper electrical ground systems. This creates electrical stability that may help normalize your body’s bioelectric field during sessions.
The theory suggests that direct electrical connection to the earth helps reduce inflammation and normalize circadian rhythms. While the research is still developing, I’ve noticed improved sleep quality and reduced muscle tension when using grounded sauna spaces compared to ungrounded ones. Your mileage may vary.
Sound Engineering for Deep Therapeutic States
I once spent three weeks obsessing over the exact resonant frequency of my sauna. Bought a frequency generator, took measurements, the whole nine yards. You know what made the biggest difference? Just turning off my phone and actually relaxing. Sometimes we overthink this stuff.
That said, understanding your sauna’s acoustic properties can enhance rather than fight against its natural sound characteristics. The acoustic signature directly impacts how deep you can relax during sessions.
Understanding the science behind different sauna environments helps inform acoustic design decisions that complement your therapeutic approach. But don’t get so caught up in the science that you forget to actually enjoy your sauna.
Working With Your Sauna’s Natural Frequencies
Every sauna has natural resonant frequencies determined by its dimensions, wood species, and construction. Instead of trying to eliminate all sound, I identify these natural frequencies and enhance the ones that promote relaxation. Most saunas resonate beautifully in the 40-80Hz range, which corresponds to frequencies associated with deep meditative states.
I use a frequency generator app and sound level meter to map my sauna’s acoustic response across different frequencies. Once I identify the strongest resonant points, I position acoustic treatments to amplify beneficial frequencies while dampening harsh ones. This creates a naturally harmonious sound environment without fancy equipment.
My Acoustic Mapping Process: Using a smartphone frequency generator app and decibel meter, I tested my 8×6 foot cedar sauna at 5Hz intervals from 20-200Hz. The strongest resonance occurred at 63Hz and 47Hz. I positioned a small subwoofer to enhance these frequencies during meditation sessions, creating a natural “sound bath” effect that promotes deeper relaxation.
Binaural Beats (If You’re Into That Sort of Thing)
Binaural beats work by playing slightly different frequencies in each ear, causing your brain to perceive a third frequency equal to the difference. For sauna use, I focus on theta frequencies (4-8Hz) that promote deep relaxation and enhanced neuroplasticity. The heat stress combined with theta brainwave entrainment creates ideal conditions for mental reset.
I use small, discrete speakers positioned at ear level when seated, connected to a binaural beat generator. Starting with 10-15 minute sessions prevents overstimulation while allowing your brain to adapt. The speaker placement needs to be subtle and heat-resistant – nobody wants to feel like they’re in a nightclub.
Sometimes the Best Sound is No Sound
Creating zones of acoustic isolation within sauna spaces allows for graduated sound experiences. I use varying wood thicknesses and strategic air gaps to create natural sound dampening without artificial materials that might off-gas in high heat.
Understanding how sound travels through different materials helps you create natural sound barriers. Thicker cedar panels, double-wall construction with air gaps, and careful attention to door and vent sealing can reduce outside noise by 20-30 decibels without compromising the authentic sauna experience.
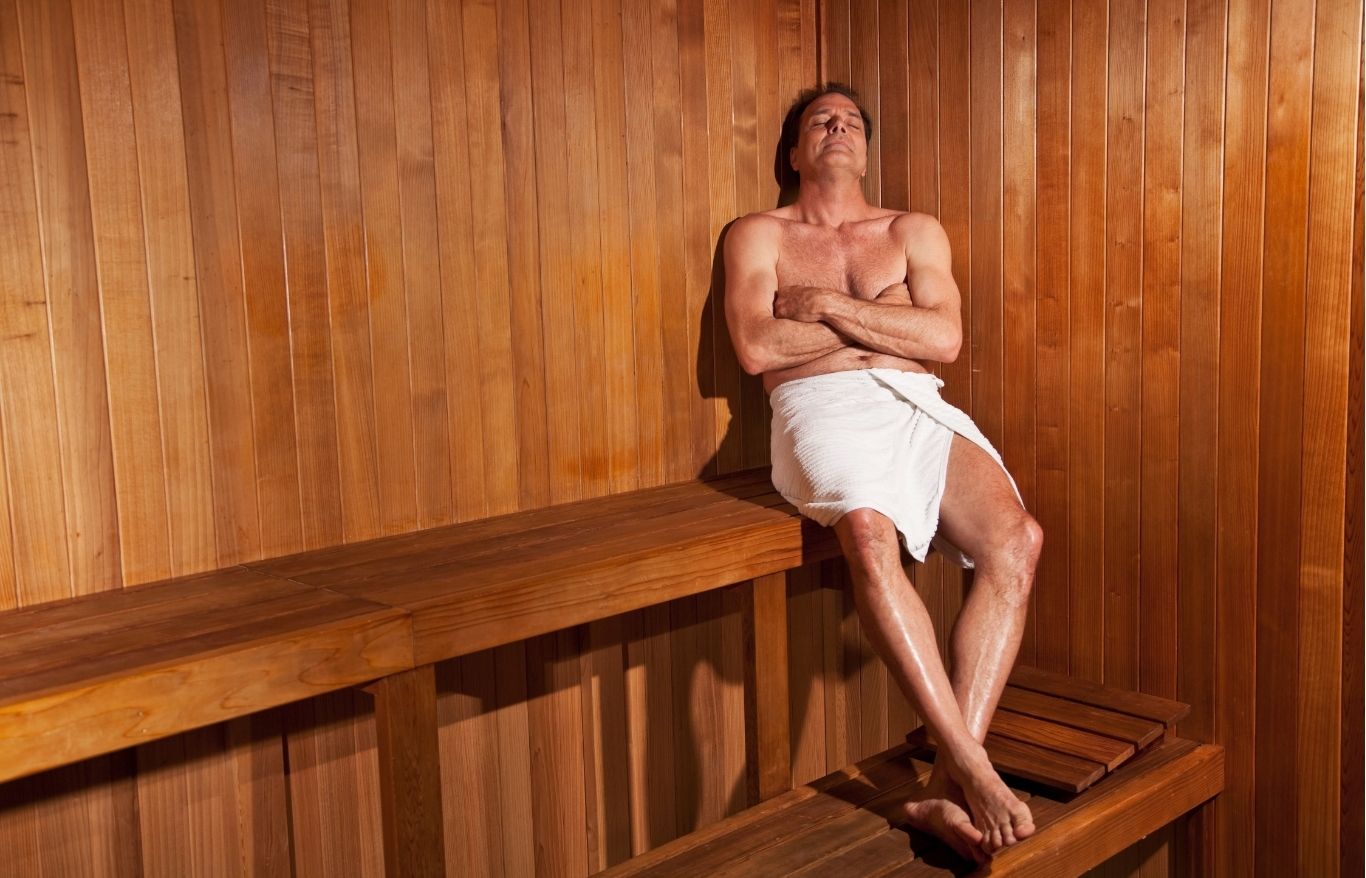
Timing Your Sessions for Maximum Hormonal Benefits
Here’s something most people don’t realize: when you use your sauna matters just as much as how you use it. The same session can produce completely different hormonal responses depending on timing. I learned this after wondering why my morning sessions left me energized while evening sessions sometimes kept me wired when I wanted to wind down.
Developing a proper sauna routine based on scientific methods requires understanding how timing affects hormonal responses. Your body’s natural rhythms determine the optimal windows for different types of heat therapy.
Morning Sessions That Beat Coffee
Your body’s natural cortisol awakening response occurs within the first hour of waking, and I’ve learned to time morning sauna sessions to amplify this natural process. Instead of reaching for coffee, I use heat stress to trigger the same alertness hormones but in a more sustained, natural way.
I monitor my natural wake time for a week to establish my personal cortisol rhythm, then schedule sauna sessions to peak during my individual cortisol rise window. This usually means starting 30-45 minutes after natural awakening (not when your alarm goes off, but when you’d naturally wake up without it).
The hormonal cascade from morning heat exposure includes elevated norepinephrine (improves focus and mood) plus growth hormone release (supports recovery and metabolism). I’ve noticed more sustained energy throughout the day compared to caffeine-based morning routines, without the afternoon crash.
Evening Sessions for Better Sleep (If You Time Them Right)
Evening sauna use requires completely different timing because you’re working with different goals. Instead of activation, you’re targeting parasympathetic nervous system engagement and natural melatonin production. The timing of the cool-down phase is absolutely critical here.
Your core body temperature naturally drops 2-3 degrees before sleep onset, and I time my sauna exit to occur 90-120 minutes before intended sleep. This allows the thermal recovery process to coincide with natural circadian cooling, essentially amplifying your body’s natural sleep preparation signals.
I’ve also experimented with red light exposure (660nm) during the final 10 minutes of evening sessions. This wavelength can stimulate pineal gland function without disrupting circadian photosensitivity, potentially enhancing natural melatonin production. The key is keeping the light dim and avoiding blue wavelengths completely.
The residential sauna segment holds 56.86% of market share in 2023, driven by homeowners seeking convenient wellness routines
| Session Timing | What You’re Targeting | How Long | What You’ll Notice |
|---|---|---|---|
| 6:00-8:00 AM | Natural cortisol boost | 15-20 minutes | Sustained energy without coffee crash |
| 12:00-2:00 PM | Growth hormone pulse | 20-25 minutes | Better recovery, metabolism boost |
| 6:00-8:00 PM | Parasympathetic activation | 25-30 minutes | Sleep prep, stress reduction |
| Post-workout | Heat shock proteins | 15-20 minutes | Faster recovery, better adaptation |
Air Quality Management Beyond Basic Ventilation
Most ventilation systems are designed for comfort rather than therapeutic optimization. I learned this when I realized my “properly ventilated” sauna was still leaving me feeling stuffy during longer sessions. Proper sauna ventilation extends far beyond basic air exchange – it’s about creating environments that maximize therapeutic benefits while preventing the nasty stuff (mold, bacteria, VOCs) from building up.
The cellular benefits of proper sauna detoxification depend heavily on air quality management and ventilation systems that support rather than hinder your body’s natural cleansing processes.
The wellness trend is driving innovation in commercial installations. Denver’s “Ultra Design Center’s new 3,000 square-foot Thermasol sauna showroom” demonstrates how the industry is embracing experiential wellness spaces with proper ventilation – though most of us are working with slightly smaller budgets and spaces.
Understanding How Air Actually Moves
Most people think about sauna ventilation as “hot air goes up, cool air comes in,” but it’s way more complex. I use thermal imaging cameras to actually see how air moves through my sauna space, identifying dead zones where stagnant air creates uneven heating or oxygen depletion. Sounds high-tech, but you can rent these cameras pretty cheaply.
The goal isn’t just air exchange – it’s creating laminar flow patterns that distribute heat evenly while maintaining breathable oxygen levels. I’ve found that adjustable vents at multiple heights allow me to control thermal stratification and create customizable heat zones for different therapeutic protocols.
Installing negative ion generators near air intake points has been a game-changer for air quality. Natural sources like Himalayan salt panels or small water features create that fresh air sensation you get near waterfalls, making extended sessions much more comfortable.
Humidity Control That Actually Works
The traditional löyly technique of adding water to hot stones requires understanding steam dynamics, not just throwing water around randomly. I add water in small amounts (1-2 ounces) every 5-7 minutes to maintain optimal humidity levels between 10-20% for dry heat therapy or 40-60% for steam-enhanced sessions.
I keep hygrometers at breathing level (4-5 feet from floor) to monitor humidity precisely rather than guessing. For respiratory sensitivities, I maintain humidity below 15%. During cold and flu seasons, I increase to 25-30% for enhanced mucous membrane hydration and natural antimicrobial benefits.
The humidity level completely changes how your body perceives and responds to heat. Lower humidity allows higher temperatures with less cardiovascular stress, while higher humidity enhances skin benefits and respiratory therapy at lower temperatures.
My Humidity Control Setup: I installed a programmable humidity controller connected to both a steam generator and exhaust fan. For morning energy sessions, I maintain 12-15% humidity at 180°F. For evening relaxation, I increase to 35-40% humidity at 160°F, creating a gentler environment that promotes deeper relaxation and better sleep preparation.
SaunaSpace Technology Integration Done Right
The SaunaSpace brand has pioneered accessible infrared therapy solutions that bridge clinical phototherapy and home wellness. But here’s what I wish someone had told me: these panels work differently than conventional infrared saunas, and most people set them up wrong.
Getting SaunaSpace Panels Positioned Right
SaunaSpace panels deliver maximum photon density within 6-12 inches of the surface, which is much closer than most people realize. I use a light meter to measure intensity at various distances, then position seating to maintain optimal exposure zones between 12-24 inches from panel surfaces. Too close and you’ll overdo it; too far and you’re wasting money.
When using multiple SaunaSpace panels, I stagger activation times by 2-3 minutes to prevent electrical surges and allow for graduated heat buildup. This approach extends panel lifespan and provides more controlled therapeutic progression rather than sudden intense exposure that can be overwhelming.
The electrical load management is crucial – these panels typically draw 300-500 watts each. I calculate total electrical load including any traditional heaters, ventilation, and lighting to ensure my electrical system can handle combined operations without tripping circuits. Nothing ruins a session like suddenly losing power.
My SaunaSpace Setup Checklist:
- Verify electrical capacity (calculate total wattage load first)
- Position panels 12-24 inches from seating areas (measure this)
- Install timer controls for staggered activation (prevents electrical surges)
- Test photon density with light meter (don’t just guess)
- Ensure proper ventilation for heat dissipation (these get hot)
- Ground all electrical components properly (safety first)
- Document what works (everyone responds differently)
Combining SaunaSpace with Traditional Heat
My hybrid approach begins sessions with SaunaSpace panels only for 15-20 minutes to allow photon therapy benefits, then activates traditional heating elements for conventional sauna temperatures. This staged approach maximizes both therapeutic modalities without overwhelming the system or the user.
The thermal synergy between near-infrared photons and traditional convective heating creates unique therapeutic opportunities. The photons penetrate tissue while the ambient heat increases circulation, creating enhanced conditions for cellular repair and detoxification.
Understanding the differences between infrared and traditional sauna technologies helps inform integration decisions when combining SaunaSpace systems with conventional heating methods. But don’t overthink it – start simple and add complexity as you learn what works for your body.
Creating Healthy Microbial Ecosystems in Your Sauna
Here’s something that sounds counterintuitive: adding the right bacteria to your sauna prevents the wrong bacteria. I used to think sterilization was the answer – bleach everything, UV-sanitize constantly, make it hospital-clean. Turns out, working with beneficial microbes rather than trying to eliminate everything creates healthier environments.
Cultivating the Good Guys
I treat untreated wood surfaces with diluted beneficial bacteria solutions (Bacillus subtilis) monthly. These organisms compete with harmful bacteria and produce natural antibiotics that create healthier air quality during sauna sessions. It’s counterintuitive, but adding the right bacteria prevents the wrong bacteria from taking over.
Installing small planters with mycorrhizal fungi near sauna air intakes creates natural air filtration systems. These fungal networks process airborne toxins and release beneficial compounds that support respiratory health. The fungi thrive in warm, humid conditions and actually improve air quality over time.
Preventing the Bad Stuff Without Going Overboard
I install timer-controlled UV-C lights that activate only during non-use periods. Running 15-minute sterilization cycles 2 hours after each sauna session eliminates pathogens while preserving beneficial wood oils and natural aromatics that contribute to the therapeutic experience.
Weekly ozone treatments (20-30 minutes at 0.1 ppm) penetrate wood fibers to eliminate embedded pathogens. The key is ensuring 4-hour ventilation periods after ozone treatment before human occupancy. This deep sanitization approach maintains clean environments without ongoing chemical exposure during sessions.
Before you start thinking you need to turn your sauna into NASA mission control, let me be clear: a basic sauna is still infinitely better than no sauna. But if you’re going to invest the time and money anyway, why not do it right?
For those looking to implement these advanced sauna space optimization techniques, HETKI Sauna offers the structural foundation and design flexibility necessary to create truly revolutionary wellness environments. Their authentic Finnish construction methods and premium wood selection provide optimal foundations for integrating modern wellness technologies while maintaining therapeutic integrity. Contact info@hetkisauna.com to discuss how their customizable designs can accommodate your specific wellness technology integration needs.
Final Thoughts
Look, I’m not a doctor, and some of this stuff might sound like I’m selling snake oil. I’m just sharing what’s worked for me after years of trial and error. Your mileage may vary, and definitely talk to your doctor if you have health conditions.
Will doing all this turn you into a wellness guru overnight? Nope. Will it make your sauna sessions more effective and enjoyable? In my experience, absolutely.
The integration of modern wellness technology with traditional sauna wisdom isn’t about replacing authentic practices – it’s about enhancing them with scientific understanding. When you optimize electromagnetic environments, acoustic properties, circadian timing, and air quality management, you create spaces that work with your body’s natural healing mechanisms.
Start with one thing. I recommend getting your timing right first – it’s free and makes the biggest immediate difference. Master that, then worry about fancy light panels and EMF shielding. Perfect is the enemy of good enough, and a basic sauna that you actually use beats a high-tech one that intimidates you.
Please don’t become the person who lectures everyone about their sauna’s electromagnetic field while they’re just trying to relax. Nobody likes that guy. I know because I was that guy. Focus on making your own experience better, and let the results speak for themselves.
Your future self will thank you for the investment in creating a truly restorative wellness environment – just don’t let the pursuit of optimization prevent you from actually enjoying the journey.